When the Afternoon Goes Flat: Lighting a 1:12 Sitting Room for a British Winter
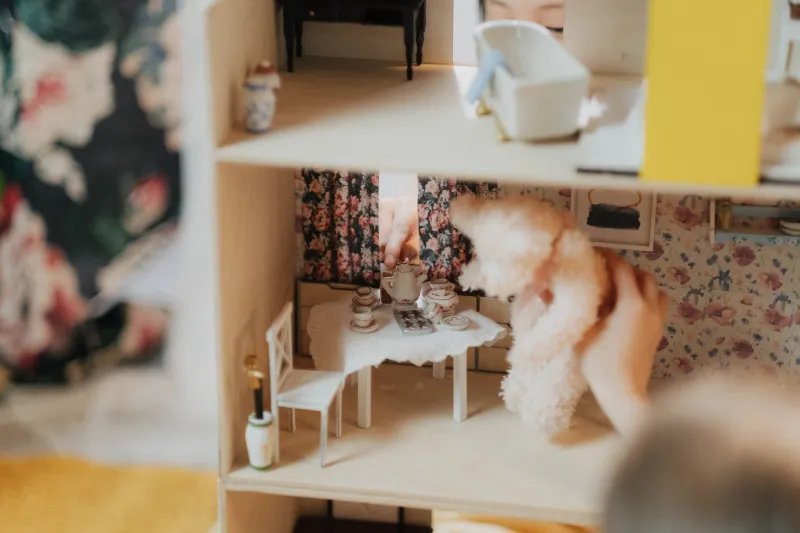
By four o'clock in November, the light in a British sitting room has already given up. The sky outside is a flat pewter, the window is a grey rectangle, and the corner where you placed a wing chair and a standard lamp looks less like a room and more like a display case waiting for a museum label. That is the moment a 1:12 interior either convinces or collapses. It is not about adding more light. It is about adding the right light in the right places, with enough shadow to suggest that someone has just put the kettle on and left the room.
The four o'clock problem
A real British sitting room at 4pm in November is a patchwork. There is a warm pool by the reading chair, a dull sheen on the window, a glow from the hall where someone forgot to switch off the light. It is never evenly lit. Miniature rooms often fail here because they are lit like display cabinets: one cool white LED overhead, everything visible, nothing inviting. The eye reads that as a model, not a room.
The fix starts with accepting that winter light is low and directional. Your job is not to illuminate the whole box. It is to suggest that one lamp has been switched on because the afternoon got away from someone.
Colour temperature: warm white, not operating theatre
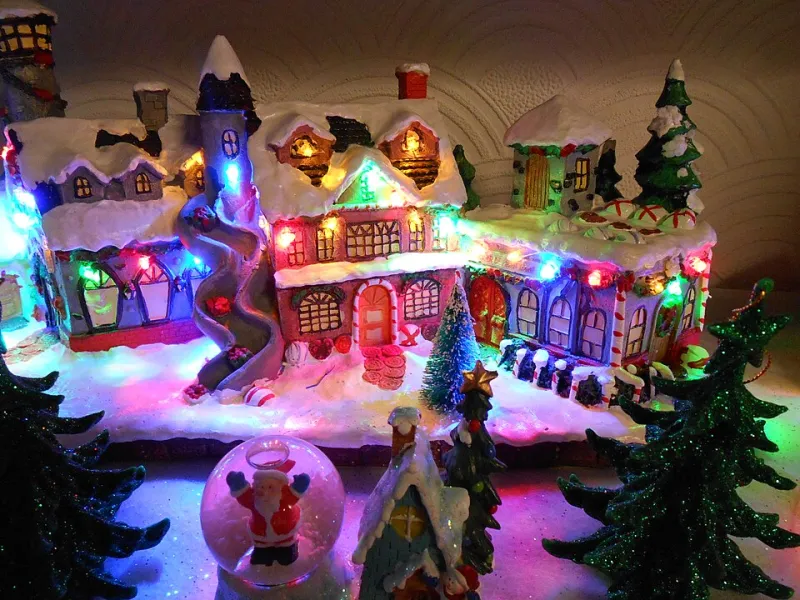
Check the colour temperature of your LEDs. Anything around 2700K to 3000K will read as warm domestic light. Cool white at 4000K or above will make tiny upholstery look grey and skin tones — if you have figures — look unwell. Warm white is the default for a sitting room, but do not make every light identical. A real house has a hot pool by the armchair and a slightly cooler spill from the kitchen. A second small LED at 2400K in a hallway or behind a half-open door can add depth without turning the scene orange.
If you are using filament-style grain-of-wheat bulbs, check the heat. Most modern miniature lighting is LED, which is safer and easier to hide. Keep a note of the voltage and the resistor values; a lamp that is too bright is more damaging to realism than a lamp that is slightly dim.
Hiding the wires without hiding the light
Hidden wiring is mostly about planning before the floor goes down. Copper tape runs neatly under rugs and along the back of skirting. Fine magnet wire disappears behind wallpaper. A hollow baseboard or a lift-off floor section gives you a service channel for terminal blocks and a central transformer. Put the transformer in a cupboard or under the floor, not behind the sofa where it will glow through the upholstery.
For lamps that need to move, use a small battery LED hidden in the base. The tell-tale dollhouse glare usually comes from a bare LED visible under a shade. Solve it with an opaque shade, a diffuser, or a tiny piece of tracing paper between the LED and the shade. The light should come from the shade, not from a bright dot inside it.
Shades that do some of the work
A shade is not just decoration; it is a light modifier. Fabric-lined card, parchment, opal acrylic and tiny pleated paper all soften the source. Avoid shiny metallic linings unless you want a deliberate hotspot. Test the shade at dusk with the room lights off. If you can see the LED as a sharp point, the shade is too thin or the bulb is too close.
Scale matters too. A shade that is too small looks like a candle; too large and it dominates the chair. A standard lamp in 1:12 usually wants a shade around 35–45mm tall, depending on the base. Hold it against the furniture before you glue.
Shadow control and the lived-in look
Shadows are the difference between a lit box and a room. Let some corners stay dark. Put the main lamp low and to one side so it casts a long, soft shadow across the carpet. Use a diffuser — tracing paper or a frosted acrylic disc — to soften hard edges. Avoid three bright points at once; that reads as a model railway, not a quiet evening.
A tiny amount of variation helps: a lamp behind a chair, a small glow in the hall, a slightly darker corner by the bookcase. The eye fills in the rest. If everything is visible, nothing feels occupied.
A simple layered plan
Start with one key lamp near the main chair. Add a hidden ambient LED behind the curtain or under a shade to lift the ceiling slightly. Add an accent in the hall or on a side table. Use a dimmer or a resistor to bring the key lamp down until it feels like evening rather than noon. Then switch off the room overhead and see if the scene still reads. If it does, you have a room. If it does not, add shade, not brightness.
Safety and the UK plug problem
The least glamorous part is the power supply. Keep to low-voltage LEDs, use a UKCA-marked adapter, and keep heat away from fabric and paper. Do not bury a hot bulb in a cushion. If a lamp is removable, battery power is often simpler and safer than threading wire through a chair leg. The plug can live under the floor or in a hidden cupboard; it does not need to be part of the scene.
The goal is not brightness. It is the impression that someone has just switched on a lamp because the afternoon got away from them. Get that right and the room will feel warm at 4pm even when the real sky outside is doing its best to be miserable.